How Our Cards are Photographed
Share
This past weekend I had a rush of motivation to shoot some long overdue photos. I recently revamped the greeting card line to only include 3 envelope colors across the board (hellooo easier inventory management) and wanted to take some photos with blank cards to use in the new catalog (and some other places). I took some photos of my process, so let’s dive in!
I do want to preface that by no means do I consider myself a photographer. While I do have a nice dlsr camera (I use a Canon) I vaguely know how to use it. I pretty much just fiddle with the settings until I get the screen to look the way I want; I don’t know any of the technical stuff.
Anyways, my first step is always to gather what I’m shooting. Products, props, backdrops, my step stool (#shortgirlproblems), and anything else I might want to play with. I used to just wing it when it came to shooting but I wasted so much time running around looking for things. “Oh, this would look perfect here!” *takes twenty minutes to find it* For me, it’s so much easier to gather what I think I’ll use and limit myself to those items. Obviously, there are exceptions but this has become my general rule of thumb.

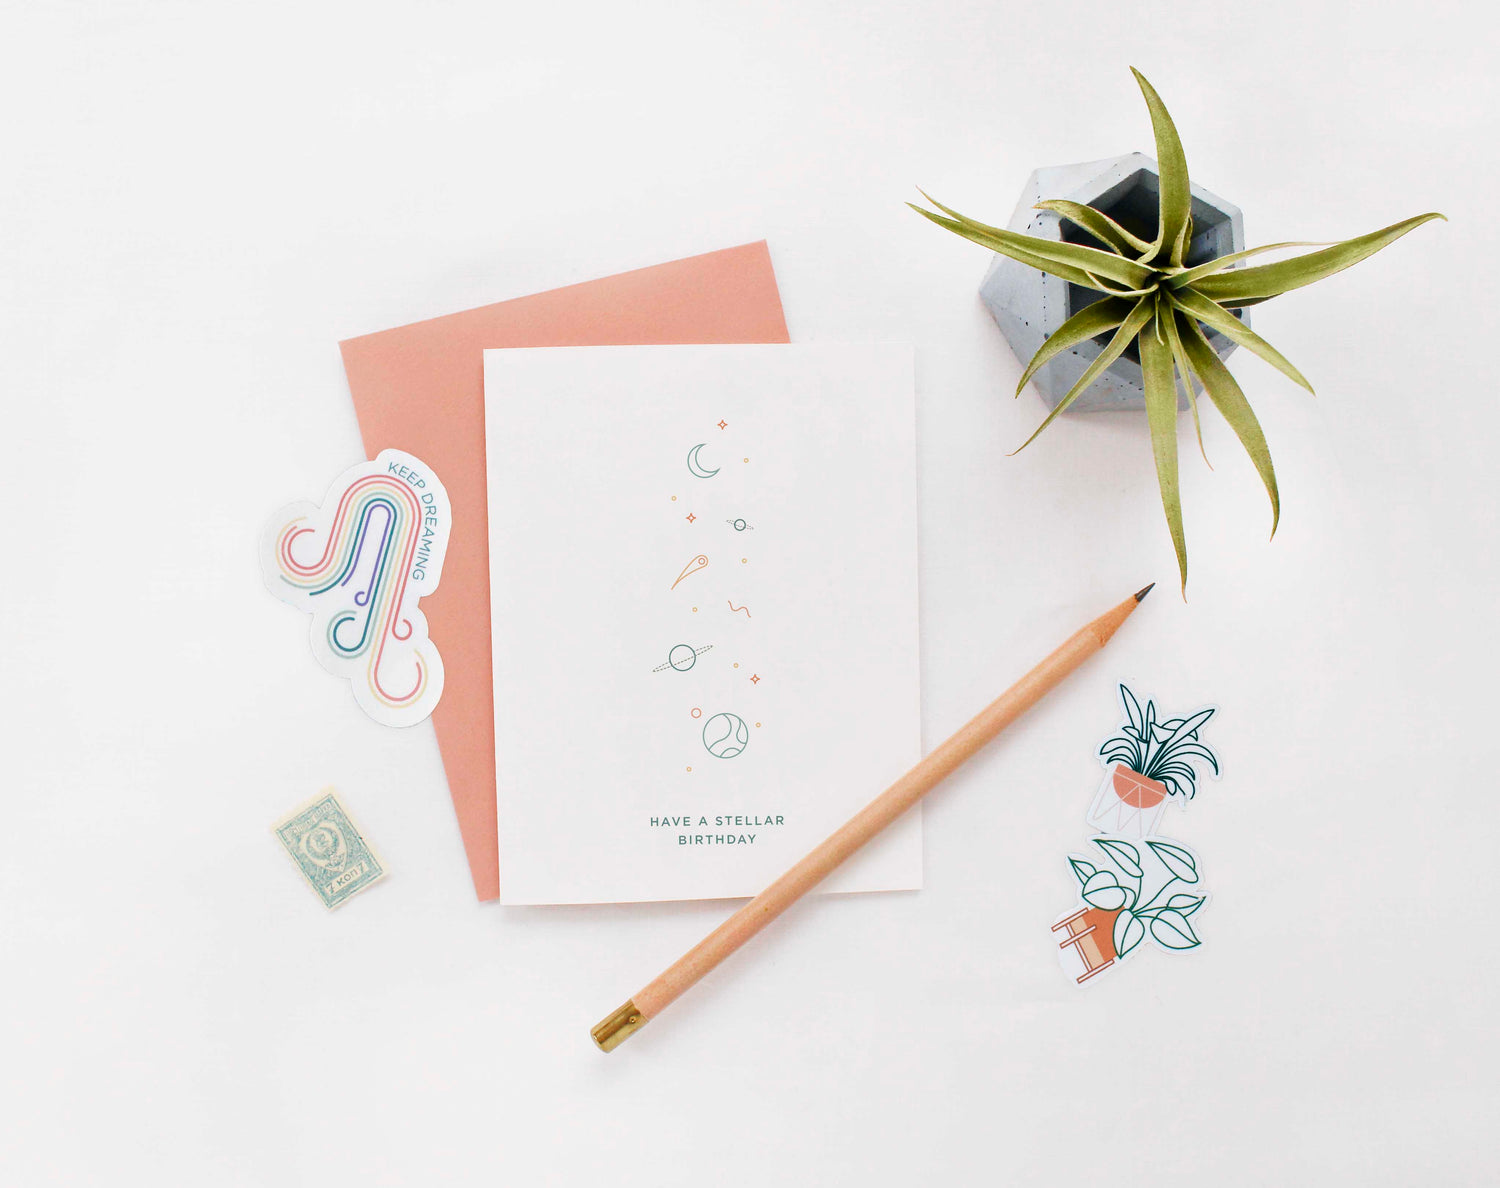
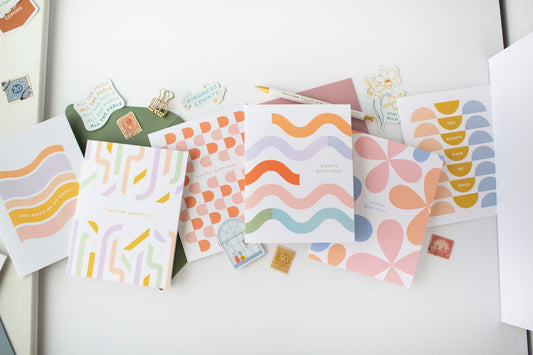
Some things I love to use are, extra envelopes, stamps, and plants
On a good shooting day, it’s cloudy out; bright, but cloudy. The best light in my house is at our kitchen table right under the window and when it’s full blazing sun out, I don’t get good photos – you're competing with the sunshine the whole time. That said, I use a white tablecloth for most of my photos. I love how light & bright it makes everything feel. I also use one of those tri-fold project boards to bounce the light back from the window. As the light dissipates from the window the photos get darker so putting a white/reflective surface parallel to the window (in my case) helps get rid of that shadow. I typically wedge it between my stool and the table and shoot down over it. I also put a second one on the right side of the table. This side is usually darker for me as well.

The tri-fold project board I use to bounce light. Love that it stands by itself!
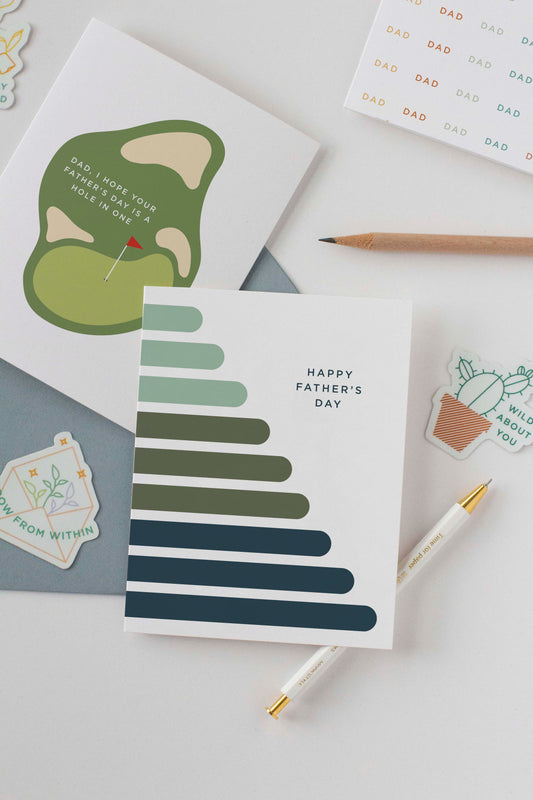
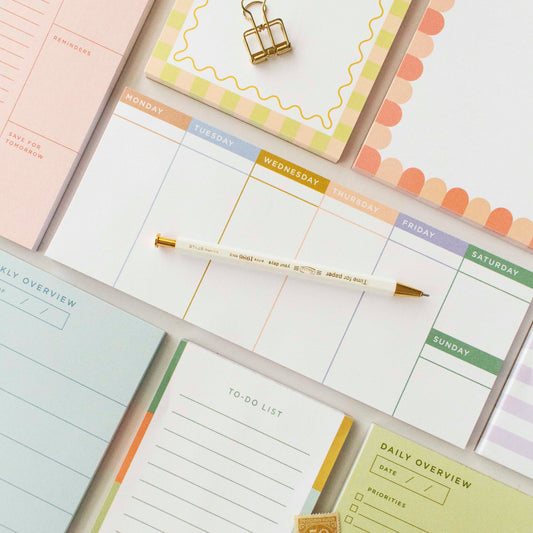
After I'm all set up, I get to style the photos. This is my favorite part; I get really into it. Pulling props, making different ‘scenes,’ imaging what the products would look like in someone’s home or in use, I find really creatively fulfilling. I tend to gravitate towards the same types of props but the main things I use are desk items (pencils, clips, tapes, etc.), home décor (cups/mugs, trays, baskets, plates, etc.), and of course plants (typically the smaller or leafy ones). A lot of what I use is stuff I already had but some of my favorite finds are from thrift stores or from other small businesses/makers.

Simple styling for this shot, just some stamps and a pencil. The other props weren't in the frame.
Depending on how many things I’m shooting I’ll spend anywhere from an hour to all day shooting. Contrary to what many photo blogs recommend I don’t use a tripod (I love me an angled shot so I’d be taking the camera off it all the time) so my arms and back get pretty tired from holding the camera all day.
From here it’s all editing magic. This is another place where I kinda just fake it. I know photoshop pretty well but I’m sure there’s a better, ‘more professional’ way to edit photos then the way I do it. I typically up the brightness (I tend to like my photos a touch overexposed), color correct, remove any blemishes, and some other small tweaks here and there.

What a photo will look like after editing! This is the Tools for Success card.
That about sums it up! It’s all trial and error. Finding my ‘photography voice’ for L&K took loooots of experimenting. It went from really colorful, to a little moodier, to this light & bright feel which I love.
If you’re planning on photographing anything I hoped this helped! And if not, I hoped you enjoyed this little behind the scenes look. If you have any questions or want to see some of the final shots head over to Instagram! You’ll find everything there, @lineandkind.
Thank you for reading & have a wonderful rest of your day!
~Katie


